Construction
Nov 8, 2026
The Hidden Drainage Plane: How to Detect Water Ingress Before It Becomes a Building Dispute
The Hidden Drainage Plane: How to Detect Water Ingress Before It Becomes a Building Dispute

The Hidden Drainage Plane: How to Detect Water Ingress Before It Becomes a Building Dispute
Water ingress rarely begins as a dramatic failure. More often, it starts as a minor discontinuity at a balcony junction, sill, penetration or cladding transition. The visible symptom may appear months later, and several metres away from the actual entry point.
For projects in Dubai, Singapore, the UK and other international markets, the physics are consistent. Wind-driven rain, surface water, pressure differentials and material movement will exploit any discontinuity in the building envelope.
The dispute begins when the contractor identifies a failed sealant joint, the owner identifies internal staining, and the oversight body asks a more important question:
Where did the water enter, and why was it not directed back to the exterior?
That question requires more than a visual inspection. It requires forensic analysis of the concealed drainage plane.
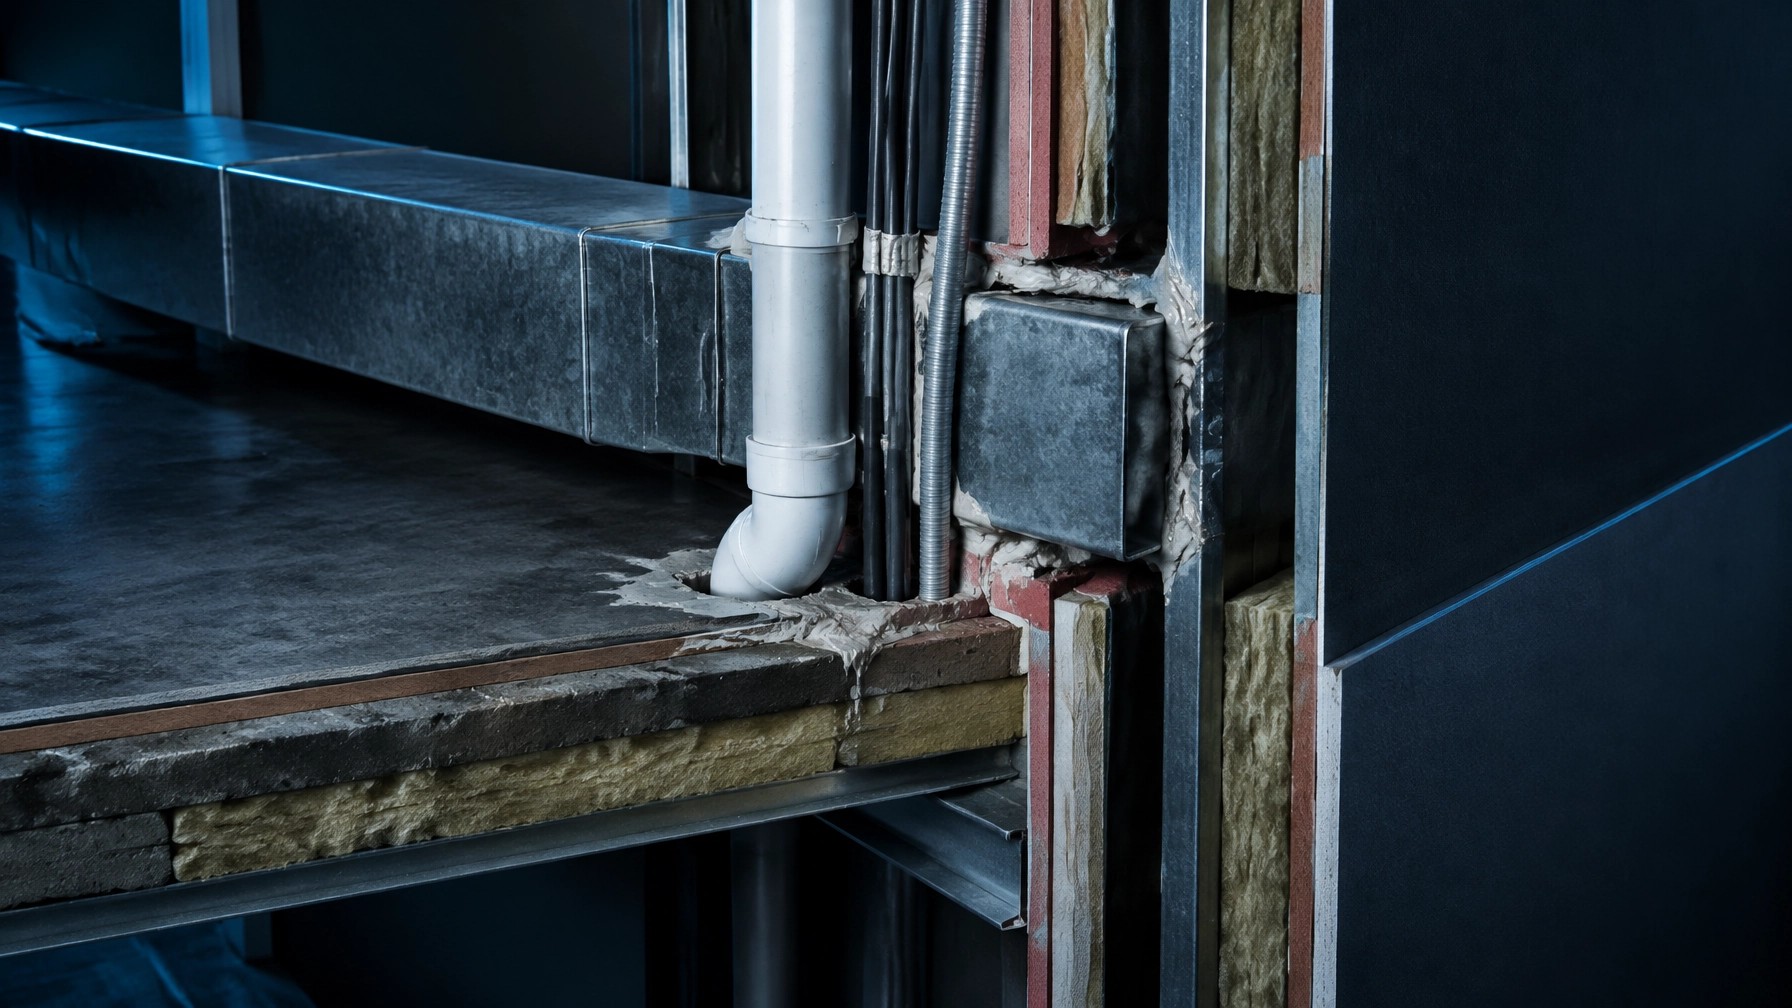
A balcony-wall junction contains multiple interfaces:
These components do not perform as isolated products. They operate as a connected water-management system.
A balcony can appear correctly finished while water bypasses the intended drainage route behind the cladding. A glazed door can pass a product test while the surrounding wall interface remains defective. A sealant joint can look intact while water enters behind an unprotected sill or terminates into an obstructed cavity.
The result is often delayed evidence:
This is where a construction consultant or residential building consultant must separate symptom, entry point, travel path and consequence.
Treating the stain is not the same as resolving the defect.
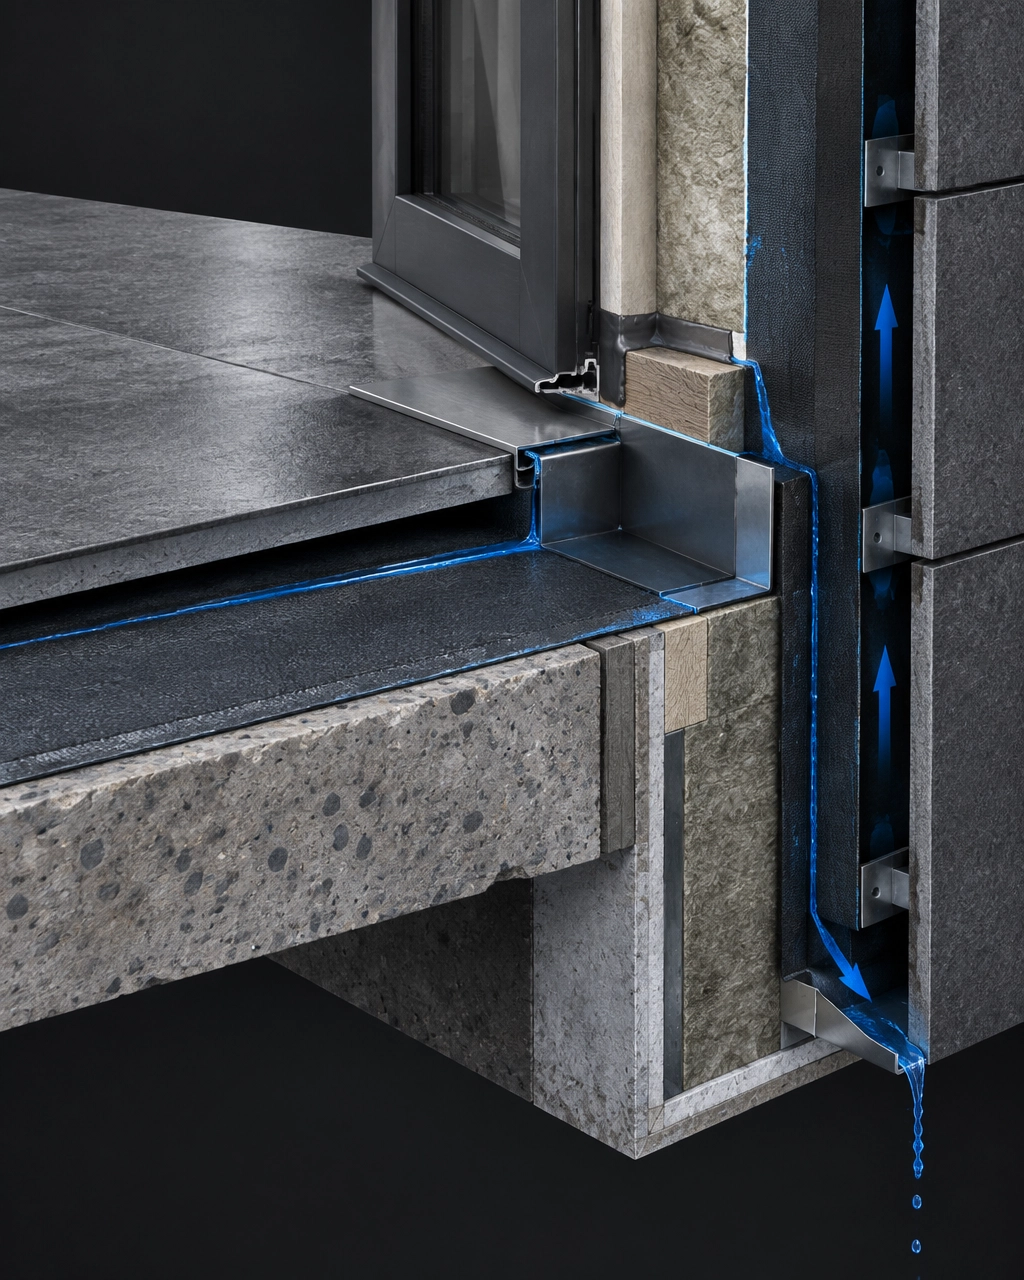
The drainage plane is the layer intended to intercept water that passes behind the outer skin of the building envelope. Depending on the assembly, it may be formed by a sheet membrane, liquid-applied barrier, sheathing layer, cavity surface or integrated flashing system.
The critical requirement is continuity.
At the balcony and sill junction, confirm whether the drainage plane:
Do not assume that a visible membrane represents a continuous system. A forensic opening may show that the membrane stops at the slab edge, is punctured by brackets or is not connected to the sill pan.
The sill is a high-risk location because water accumulates there under pressure. A robust sill drainage arrangement normally requires more than perimeter sealant.
Inspect for:
Where the threshold is low, the design becomes more sensitive to surface falls, membrane continuity and outlet capacity. A small defect can allow water to bypass the external weather line and enter the wall assembly.
A balcony is not waterproof simply because its surface appears sealed. Water must be directed toward a functioning outlet or free-draining edge.
Document:
Do not rely solely on a hose test across the full balcony. Broad testing can produce ambiguous results. Isolate the wall junction, threshold, outlet and penetrations in sequence.
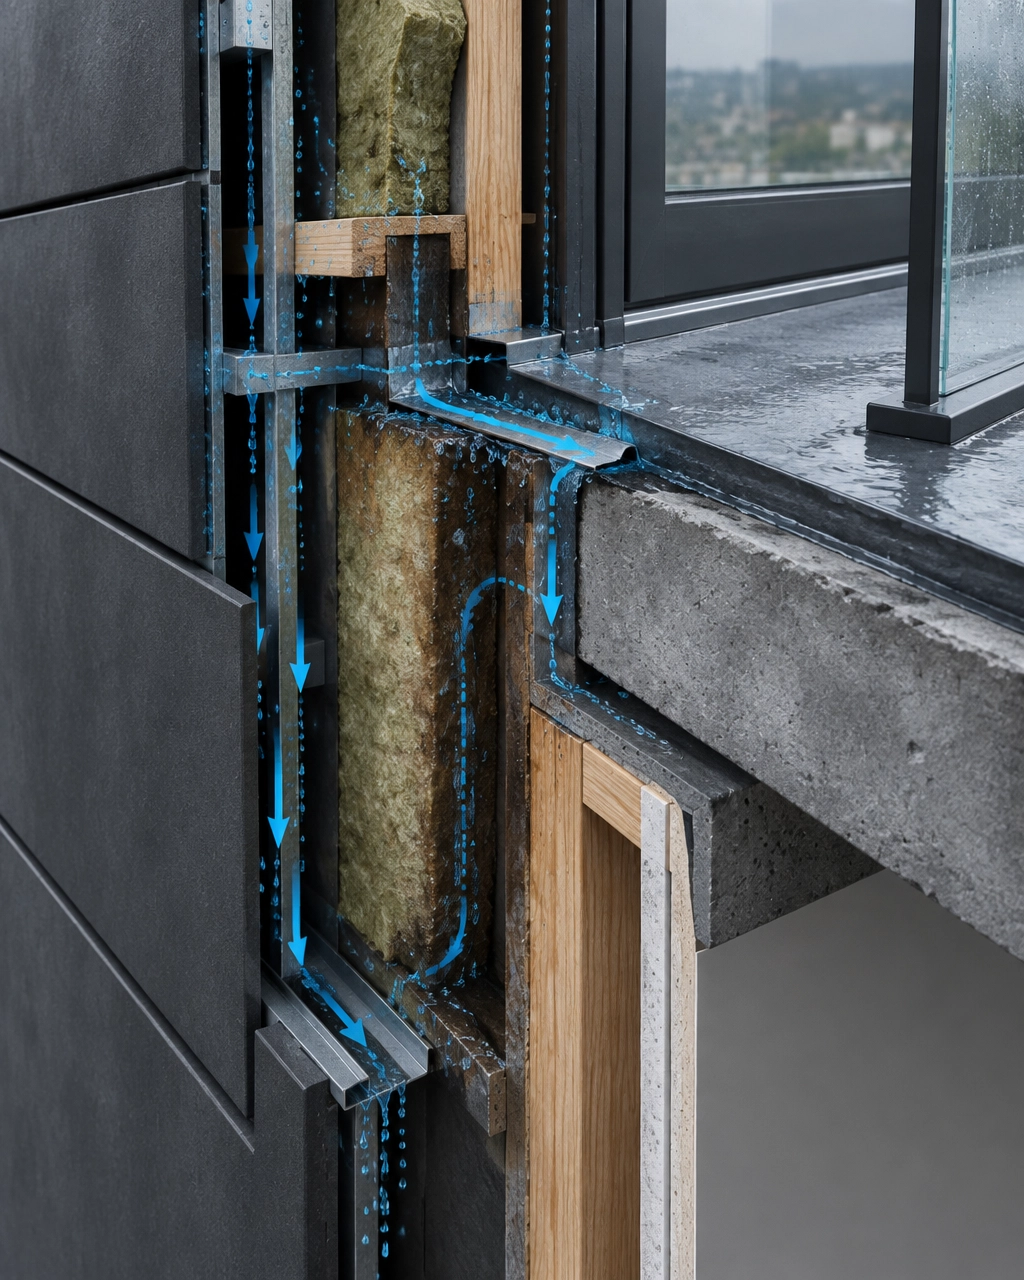
Water can move laterally along membranes, framing, slab edges and service cavities before becoming visible.
Map the building in four stages:
This distinction is essential in a building dispute. A failed sealant joint may be present but not causative. Conversely, the absence of visible damage at the entry point does not prove that the junction is performing correctly.
Different audit models answer different questions.
A construction-stage inspection is intended to identify installation risks before concealment. It can verify membrane continuity, flashing integration, outlet paths and substrate conditions.
A post-completion quality inspection evaluates visible outcomes and accessible interfaces. It cannot confirm concealed continuity without targeted openings.
A forensic investigation begins after symptoms or leakage have emerged. It should be evidence-led, sequenced and proportionate. Random testing or indiscriminate demolition can destroy evidence and create competing interpretations.
This is where building consultancy services and construction risk management services provide value. The objective is not to produce more observations. The objective is to establish a defensible causal sequence.
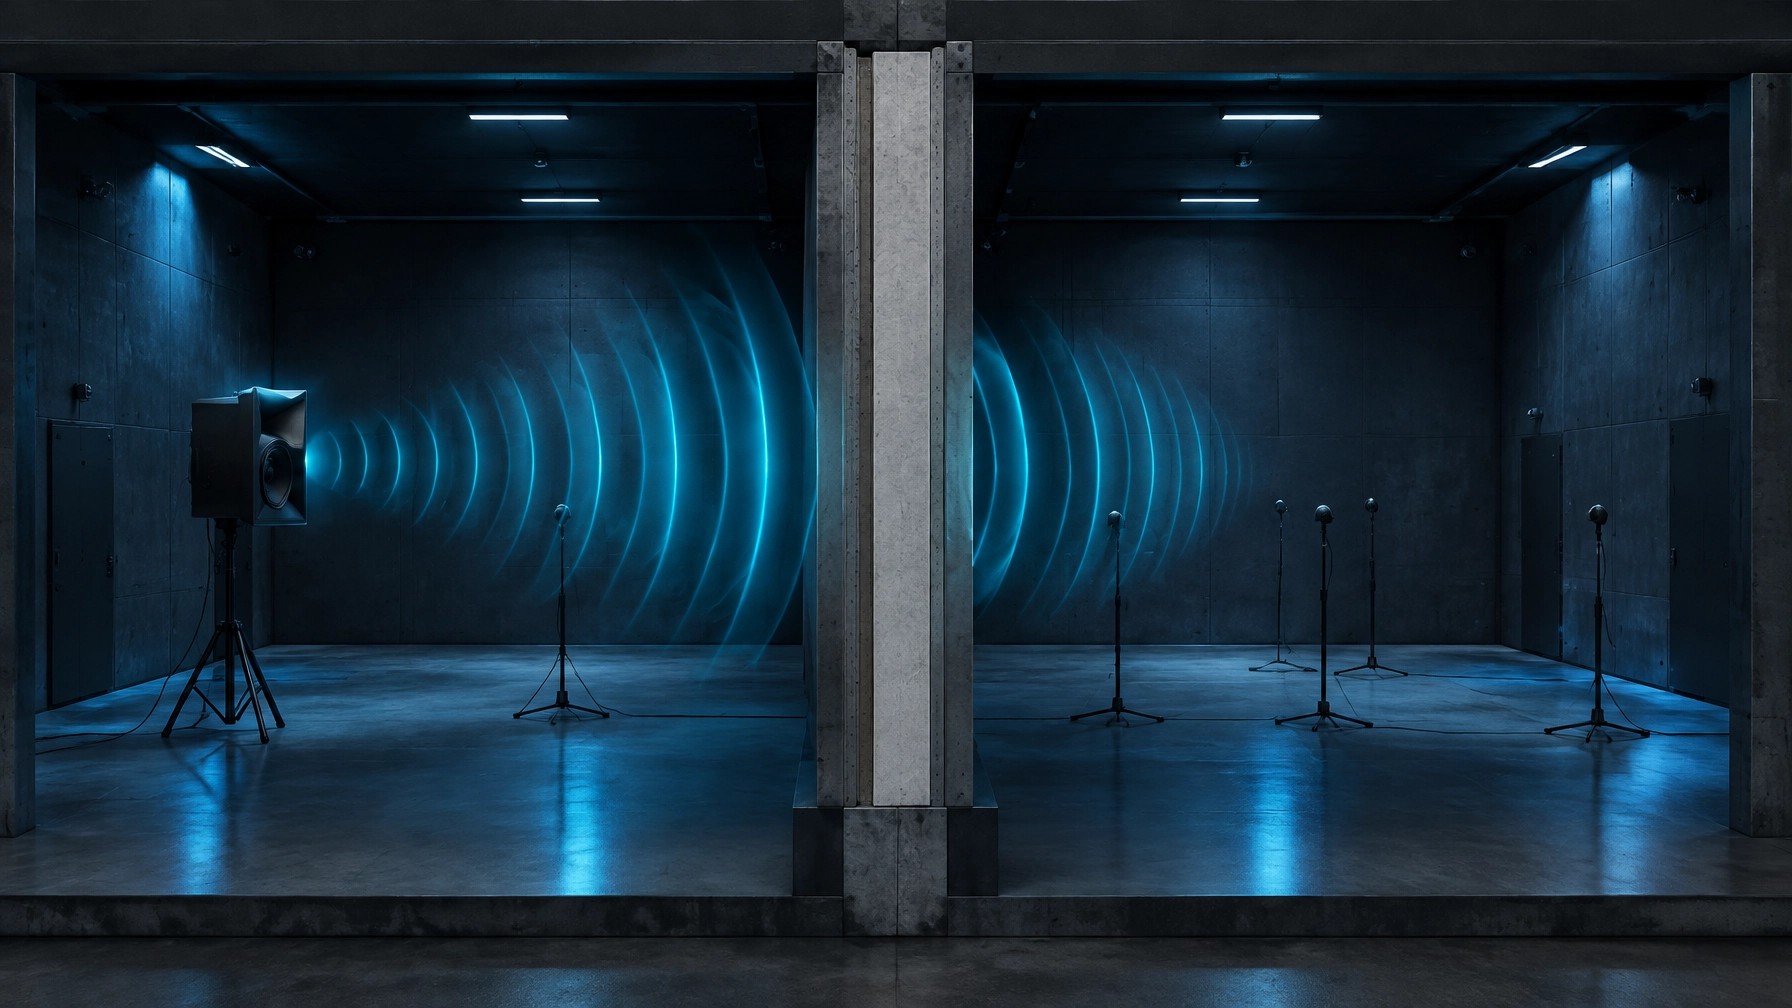
International standards should be applied according to their purpose. A product test, a construction-stage quality test and a forensic investigation are not interchangeable.
ASTM E2128, Standard Guide for Evaluating Water Leakage of Building Walls, provides a framework for evaluating leakage in existing wall systems.
Its value is methodological. It treats the wall as a system that can include:
Use the guide to organise the investigation around design review, physical evidence, targeted openings and controlled testing. Do not treat it as a simple pass-or-fail hose test.
ASTM E1105 addresses field determination of water penetration through installed windows, doors, skylights and curtain wall assemblies under controlled pressure conditions.
It can help assess the fenestration product and the joint between the product and adjacent construction. However, a passing result at the frame does not automatically validate the complete wall-balcony junction.
ASTM E783 measures air leakage through installed exterior windows and doors. Air leakage is not the same as water penetration, but uncontrolled air paths can identify discontinuities in the enclosure that deserve further investigation.
Use air testing as supporting evidence, not as a substitute for water testing.
AAMA 502 is intended for field testing of newly installed fenestration during construction. AAMA 511 addresses forensic evaluation of water intrusion at fenestration products.
The distinction is important. Do not use a construction-stage acceptance model to investigate a mature leak without considering the surrounding wall, finishes, drainage plane and changes introduced after installation.
ISO 9972:2015 provides a fan pressurisation method for determining building air permeability.
It does not diagnose water ingress directly. It can, however, help identify pressure-sensitive leakage paths and envelope discontinuities that may influence rain penetration or complicate the interpretation of site testing.
Standards define the method. They do not replace professional judgment, evidence preservation or jurisdiction-specific performance requirements.
Require coordinated details for:
Review the detail as a water path, not as a collection of products. Mark where water is expected to travel, where it is collected and where it exits.
Inspect before concealment.
Record:
Do not accept a generic photograph of a membrane as proof of a correctly integrated junction.
Use targeted field testing. Start with the least invasive method and isolate one interface at a time. Correlate wetting duration with moisture readings and internal observations.
Where leakage is confirmed, open only the locations required to test the leading hypothesis. Preserve removed materials and document the sequence. This protects both the technical investigation and the integrity of any later contractual or legal assessment.
The repair should restore a continuous, inspectable and discharge-capable drainage plane.
A durable remediation strategy may require:
Avoid cosmetic sealant-only repairs where the concealed drainage path remains unresolved.
Shoal Bay Projects operates as a forensic advisory bridge between site execution, contractual expectations and compliance evidence. Whether engaged for construction advisory, residential project management, a custom home build, major renovation, Client Side Project Management or building dispute support, the objective is the same: identify the mechanism before the defect becomes a financial narrative.
Explore the Shoal Bay Projects building consultancy platform and review the related analysis of sealant geometry, movement capacity and façade water management.
Watch the Hive YouTube channel for further technical analysis of construction compliance, building-envelope performance and forensic risk management.
⚠️ The image in this post is used for illustration purposes only, designed to encourage thoughtful discussion. It is not intended to represent a prescriptive detail of any installation or construction method.
The Vault. The App. The Community. We're opening the doors to a select group of Foundation Members. Free, for a limited time. Foundation Membership includes full access to The Vault (our forensic intelligence archive) and early access to the Hive app.
Once the charter window closes, this tier is gone permanently. Foundation Members retain access for life. This is not a trial: it's a permanent invitation to the founding cohort.
Claim Your Foundation Membership →
Conversational intro
Water ingress disputes often begin with the wrong question: “Where is the stain?” The better question is, “Where did the water cross the intended drainage plane?” This article breaks down the concealed wall-balcony-sill junction and shows how to investigate it before a minor defect becomes a major dispute.
Title
The Hidden Drainage Plane: How to Detect Water Ingress Before It Becomes a Building Dispute
Article link
Add the final published Webflow article link.
Forensic takeaways
Image assets
The post uses four fresh technical 3D forensic illustrations showing a concealed wall drainage plane, sill flashing, balcony waterproofing, cavity water flow and field investigation methods.
⚠️ The image in this post is used for illustration purposes only, designed to encourage thoughtful discussion. It is not intended to represent a prescriptive detail of any installation or construction method.